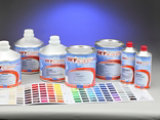
[Sherwin Williams Aerospace Product Overview - Jet Prep Pretreatment CM0220P01]
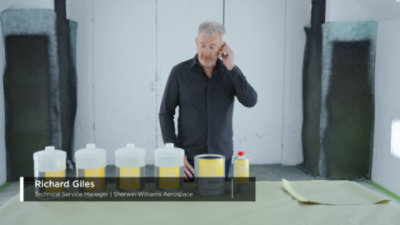
So the first product we have on offer is not a paint material at all.
It's actually a pretreatment supplied in a kit.
You've got A and B, you simply put the B component into the A-side, give it a shake and it's ready.
There's a blue dye in this material.
The reason we put a blue dye in the material is to identify on the skin where you've been, where you're going.
Once it's activated, you have a 12 hour pot life, so you've got plenty of time.
My advice to you is right.
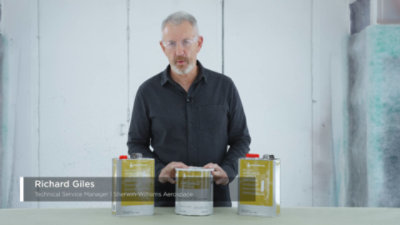
The time of activation on the actual container, the product has three main advantages.
First of all, it's not on Chrome.
It's a good thing.
Secondly, there's a corrosion inhibitor in here.
It's not just an additional about promoter, it's corrosion inhibitor.
And thirdly, any aerospace epoxy primer, chrome or non chrome can be applied on top of this material.
Again, it's a pre-treat.
So just treat this as you would all adorn a wash primer.
Any epoxy can go on top of this material.
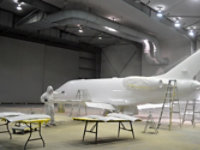
So we're in the paint shop.
Our aircraft is ready.
We've got bare skin, clean skin.
Time for Jet Prep.
Very simple.
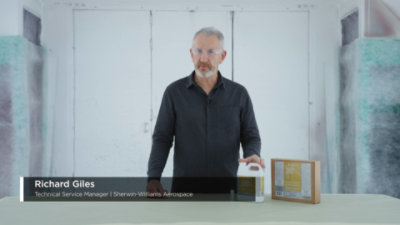
It comes in a kit.
So you apply the vial into the prop itself.
You notice the glasses and the. And the gloves are very important.
Replace the top.
And give that solution a shake.
We do the math.
You don't need to do anything.
Once it's shaken, goes in very easily.
Again, water based material.
In this case, we're going to place into a piece because of the volume that we have.
Well, that could be a pressure pot, could be any type of vessel.
Once it's in there, I'm going to be using in this case, as I mentioned earlier, it can be any any spray gun, any pneumatic spray on this one, in this case, pressure.
It's a water based material.
You don't need a lot of pressure to optimize.
What I'm going to be doing is using a gauge and obviously adjusting the fan and the fluid accordingly and applying one light coat onto the surface.
Very easy.
These pipes, it's always a good practice to actually filter in, even though there's a filter on the pipes.
But I find these 125 filters, which is what these are, are quite adequate for most coatings.
So it's a simple dispense.
Now you'll see the blue tracer.
And the reason we put the tracer in, as mentioned earlier, is the can see where you're going and where you've been.
This is quite a stock color on the actual skin.
It may seem like a very faint blue color, but actually on the skin when you see with and without Jet Prep.
So there's no disillusionment on have we done this, Have we done that?
So let's we've stirred the material.
We'll let it and dust and then we'll apply to the skin.
For the sake of exercising this.
It's huge training center in Morrinsville we use training foils.
This has been pre cleaned, of course, with we've got a product called one fifth 110 158
We can wipe off, of course, two ways to treat aluminum.
Ideally you get two water break.
Water break as everyone knows what water break is.
The second one.
If you're sanding aluminum, make sure you clean it down thoroughly with a one fifth. 110 158 typically.
And that material is then ready to roll out. Cleanliness is everything. It's like most painting cycles treat the application as though it was the last and final application of material.
Although it's still pre-treat Clean, clean, clean is key.
So we're going to apply one coat on each of these foils and we've got some foils around the other side and you'll see the difference between the Jet Prep on and the Jet Prep off.
So let's talk about the application.
I'm using this going across.
I'm going to be adjusting accordingly with pressure, fluid and the fan itself, the density of the fan.
And typically it's going to be a 50, 50, 50% overlap.
It could be a little tighter.
But essentially we want to put a thin film, a closed bead on the surface.
This particular gun again, it could be any gun, any pneumatic gun, of choosing pressure pot.
No electrostatic I must really emphasize that on one close film coat camera and we're out the door.
