SW-Aerospace-Smart-Repair-Video-Series-Acry-Glo-HLG-Metallic-English-video-en_US.mp4
GFX: Plane flying, Sherwin Williams Aerospace Coatings
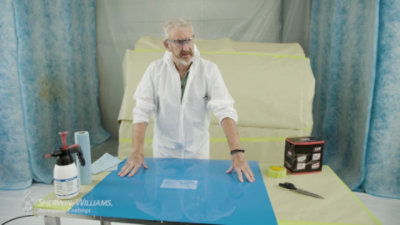
[00:00:12] Hi, guys, my name is Richard Giles, Sherwin-Williams Aerospace Technical Service and training manager. I'm here at our training facility in Andover, Kansas. So for this HLG repair, it's a two step process. It requires two different materials, two spray guns, and the metallic itself, which is here must be applied onto a wet bed. The reason we use a wet bed is to do any edge corrections to make sure the face and the flop don't give you that muddle or flotation look. We're gonna be demonstrating how you can blend the metallic into the adjacent area. This repair assumes it's in paint process. So we've painted an airplane and it's been damaged before clear.
[00:01:00] Like all bases, it should be mechanically shaken. We just stir to make sure that there's no settlement. The product is homogeneous, which it certainly is. These products are mixed per datasheet. There is no special blending, reduction, dilution. So if you follow the datasheet, then you can do a successful smart repair. Okay. Over. Let's get the base mixed up.
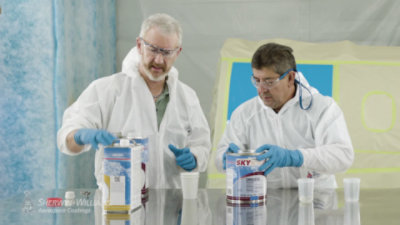
*Assistant mixing base materials*
GFX: Mix 3 parts metallic, ? part hardener, ? part reducer
HLG, again, if you look at the data sheet, it's three parts base, we use a hardener which has common to the clear coat. So you've got one common hardener that's one half part. So it's three to a half and then we will use a solvent in this case called CMO 110944. The clear coat.
*Pouring materials*
Again, common components. This is 3 to 1 to 1. 3 base, 1 common hardener and 1 solvent. Both of these materials have around a four hour potlife, normal mixing practice is the and hardener and then the solvent afterward. These materials, once you've mixed them until they're all homogeneous, they are ready to go.
GFX: Stir thoroughly
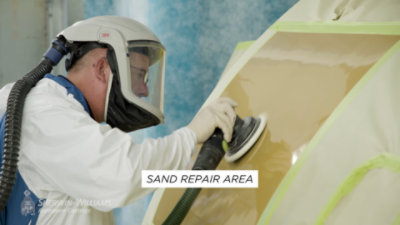
OK. So that's the base all ready to repair. Now we'll start on the clear. You'll see again, all of our products are CMO 571080. And this is the actual conventional AcryGlo clear coat. The clear cut we're using today is the AcryGlo clear. We're mixing it as per data sheet. No special mixing or blending required. This will be used as a wet bed for the metallic. It's mixed three parts of base, one part of hardener, which is common to the metallic itself and then one part of solvent. So the panel is prepared and cleaned in the conventional way. We use a product called CMO 110158 it's a wipe on wipe off process. Now on to the application of AcryGlo HLG. For smart repair, it's very important that the process and procedure is followed to get the successful spot repair with metallic finishes. The first one we'll use is the AcryGlo clear, which is the wet bed. This will soak up the edges, the dry edges of the repair itself. Once this is on the surface, we allow it to flash and then using low pressure and gun control, we gently drift the metallic into the clear, making sure that it becomes opaque. We get the depth of color because on metallics, the lighter the film, the more flaky it will be. If it's heavier, the more pigmented it will be. But with a gun control, you can get the balance between the depth and also the surrounding area,
GFX: Repair must be clearcoated
which is what we're trying to achieve on the face and the flop is to get this nice uniform metallic finish.
[00:04:17] Now that all of the repairs are clear coated, you can see that the color transition profile and repair itself is totally invisible to the eye at all light conditions and all angles. The definition of a repair is "where is it?" If we can achieve an invisible aesthetic repair that isn't noticeable to the inspector or customer in all light conditions, we consider that successful.
[00:04:43] Follow us on our YouTube channel, Sherwin-Williams Aerospace for all future small repairs.
GFX: Sherwin Williams Aerospace, swaerspace.com